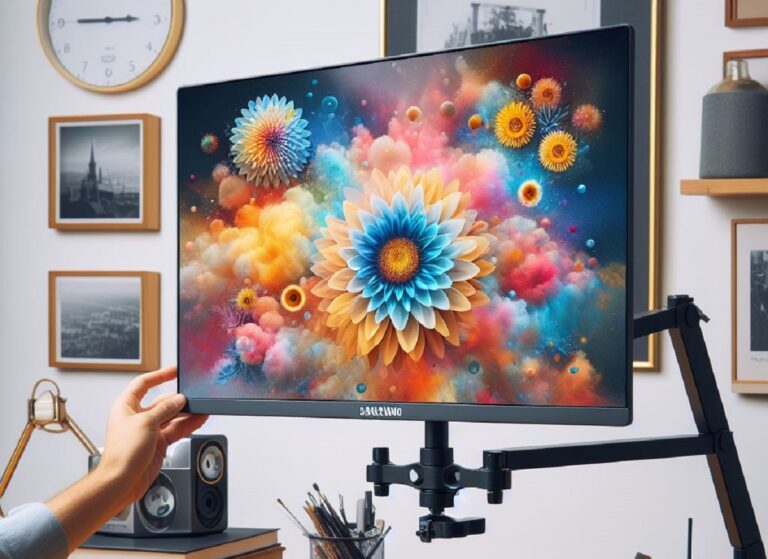
The portability of MacBooks is undeniable, but sometimes a bigger screen is just what you need for enhanced productivity or immersive entertainment. Thankfully, connecting your MacBook to an external monitor is a breeze. This guide will walk you through the process, covering compatibility, cable selection, and configuration steps for a seamless experience.
Before You Begin: Check Compatibility
- Your MacBook Model: Different MacBook models have varying ports. Identify your specific model using the Apple menu () > About This Mac. Knowing your model is crucial for choosing the right cable.
- Your Monitor: Likewise, determine your monitor’s input ports (HDMI, DisplayPort, VGA, etc.). Consulting your monitor’s user manual will clarify its available connections.
Choosing the Right Cable
Once you’ve identified your MacBook model and monitor’s ports, it’s cable selection time! Here’s a breakdown of common scenarios:
-
MacBook with Thunderbolt/USB-C ports (2015 and later):
- Connecting to a Thunderbolt/USB-C monitor: Utilize a Thunderbolt 3 (USB-C) cable for the best performance, allowing video, audio, and even data transfer through a single cable.
- Connecting to an HDMI monitor: Use a Thunderbolt 3 (USB-C) to HDMI cable to bridge the connection gap.
- Connecting to a DisplayPort monitor: A Thunderbolt 3 (USB-C) to DisplayPort cable is your go-to option.
- Connecting to a VGA monitor: While less common, a Thunderbolt 3 (USB-C) to VGA adapter paired with a VGA cable can establish the connection.
-
Older MacBooks with HDMI ports (pre-2015):
- Connecting to an HDMI monitor: A standard HDMI cable is all you need for a straightforward connection.
Connecting Your MacBook and Monitor
- Power Up: Ensure both your MacBook and monitor are powered off before connecting the cable.
- Cable Connection: Firmly connect the chosen cable to the relevant ports on your MacBook and monitor. Refer to their respective manuals if needed.
- Power On: Turn on your monitor first, followed by your MacBook.
Configuration: Getting the Most Out of Your Display
Your MacBook should automatically detect the connected monitor. However, you might need to adjust some settings for optimal performance:
- Apple Menu () > System Settings (or System Preferences): This is where the magic happens!
- Displays: Click on “Displays” to access your monitor settings.
- Arrangement: Drag and arrange the built-in MacBook display and the external monitor to your preference. You can choose to mirror your MacBook screen or extend your workspace across both displays.
- Resolution: Click on the external monitor icon and select the desired resolution from the dropdown menu. Choose the highest resolution your monitor supports for the sharpest visuals.
- Brightness and Color: These options allow you to fine-tune the brightness and color calibration of your external monitor for a comfortable viewing experience.
Additional Tips and Considerations
-
Using a Docking Station: For a more organized and efficient setup, consider using a docking station. Docking stations often provide multiple ports, allowing you to connect various peripherals like external monitors, keyboards, and external hard drives with a single cable connection to your MacBook.
-
Multiple Monitor Support: Modern MacBooks can support connecting to multiple external monitors. The number of supported monitors depends on your specific MacBook model and its capabilities. Refer to Apple’s support website for details on your specific model.
-
Using Adapters: While using the correct cable is ideal, adapters can be helpful in certain situations. Ensure you get high-quality adapters to avoid signal degradation or connection issues.
Troubleshooting:
If you encounter any issues after connecting your MacBook to the monitor, here are some troubleshooting steps:
- Double-check cable connections: Ensure both ends of the cable are securely plugged into their respective ports.
- Restart your MacBook and monitor: Sometimes a simple restart can resolve minor connection hiccups.
- Check for software updates: Outdated macOS versions might have compatibility issues. Ensure your MacBook is running the latest software updates.
- Consult online resources: If the issue persists, search online resources or consult Apple support for troubleshooting specific to your MacBook model and monitor combination.
Conclusion
Connecting your MacBook to an external monitor unlocks a world of possibilities, boosting your productivity or enhancing your entertainment experience. By following these steps, choosing the right cable, and configuring your settings, you’ll be well on your way to enjoying a seamless dual-monitor setup. So go forth, expand your workspace, and conquer your tasks or dive into immersive entertainment on the big screen!
