Gamers crave smooth, tear-free visuals, and FreeSync is a technology that aims to deliver just that. Traditionally associated with AMD graphics cards, FreeSync compatibility has arrived for certain NVIDIA GeForce GPUs. Here’s how to unlock the potential of FreeSync on your NVIDIA setup:
A Compatibility Check: Not All NVIDIA Cards are Equal
Before diving in, it’s crucial to confirm your NVIDIA graphics card’s FreeSync compatibility. Here’s how:
- Locate Your Graphics Card Model: Right-click on your desktop and select “NVIDIA Control Panel.”
- Navigate to System Information: Within the control panel, click on “System Information.”
- Check the Graphics Card Model: In the “Graphics Card” section, identify your specific NVIDIA GeForce model.
NVIDIA’s Embrace: G-SYNC Compatible Logo
Look for the “G-SYNC Compatible” logo associated with your graphics card model on the NVIDIA website or during your purchase research. This logo signifies the card’s ability to work with FreeSync displays.
Equipping the Battlefield: Monitor Matters
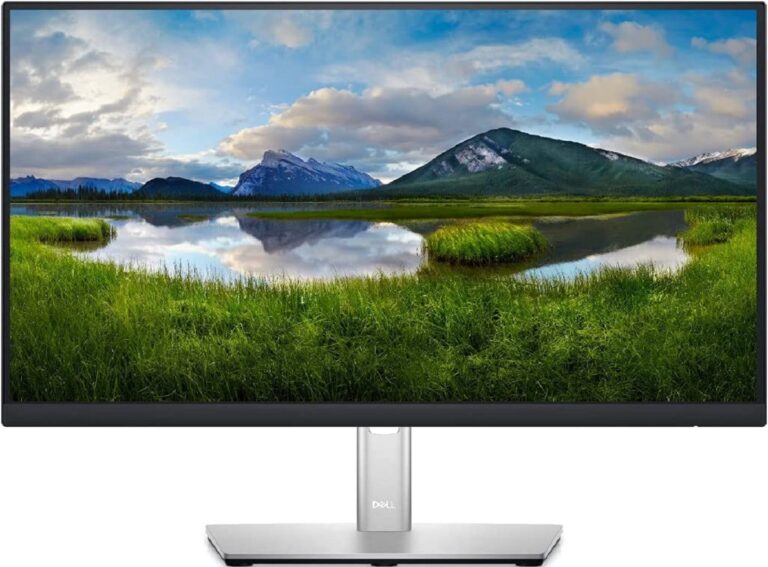
FreeSync requires a compatible monitor. Check your monitor’s specifications or manual to confirm FreeSync support. Look for keywords like “FreeSync” or “Adaptive Sync” in the monitor’s description.
The Software Showdown: Updating Your NVIDIA Drivers
Outdated drivers can hinder functionality. Here’s how to ensure you have the latest NVIDIA drivers:
- Download the Latest Drivers: Visit the official NVIDIA driver download page (https://www.nvidia.com/download/index.aspx).
- Select Your Graphics Card: From the dropdown menus, select your specific graphics card model and operating system.
- Download and Install: Click “Search” to find the latest drivers, download them, and follow the on-screen instructions for installation.
The FreeSync Frontier: Enabling within NVIDIA Control Panel
With compatible hardware and updated drivers, it’s time to enable FreeSync:
- Launch the Control Panel: Right-click on your desktop and select “NVIDIA Control Panel.”
- Navigate to Display Settings: Under the “Display” section, select “Set up G-SYNC.”
- Activate G-SYNC: Ensure a checkbox like “Enable G-SYNC, G-SYNC Compatible” is ticked.
- Select the Display (Optional): If you have multiple monitors, choose the one with the FreeSync-enabled display from the dropdown menu.
- Windowed or Fullscreen (Optional): Select whether you want FreeSync to function in windowed or fullscreen applications (or both).
The Final Touches: Monitor On-Screen Display (OSD) Settings
While the NVIDIA Control Panel enables FreeSync for your graphics card, you might need to activate it within your monitor’s on-screen display (OSD) settings as well. Consult your monitor’s manual for specific instructions on navigating the OSD and enabling FreeSync.
Conquering Screen Tearing: Enjoy the Smoothness!
By following these steps and ensuring compatibility, you should be able to leverage FreeSync on your NVIDIA setup. FreeSync helps eliminate screen tearing, a common issue where the image appears broken across multiple frames, resulting in a less than ideal visual experience. Embrace the smoother, tear-free gaming experience that FreeSync offers!
Important Note: While FreeSync compatibility has expanded for NVIDIA GPUs, it might not function flawlessly on all FreeSync-branded monitors. It’s always wise to check for specific compatibility information between your graphics card and monitor model.
FAQs
Is FreeSync compatible with NVIDIA graphics cards?
Yes, but with a twist! Traditionally, FreeSync was associated with AMD graphics cards. However, certain newer NVIDIA GeForce models boast “G-SYNC Compatible” certification, allowing them to work with FreeSync displays.
How do I check if my NVIDIA graphics card is compatible with FreeSync?
Locate your graphics card model (right-click desktop > NVIDIA Control Panel > System Information).
Search for your model on the NVIDIA website or during purchase research. Look for the “G-SYNC Compatible” logo to confirm FreeSync support.
How do I enable FreeSync on my NVIDIA setup?
Ensure compatibility: Verify your graphics card and monitor support FreeSync/G-SYNC Compatible.
Update NVIDIA drivers: Download and install the latest drivers from the official NVIDIA website.
Enable FreeSync in NVIDIA Control Panel: Right-click desktop > NVIDIA Control Panel > Display > Set up G-SYNC > Enable G-SYNC, G-SYNC Compatible.
Activate FreeSync in Monitor OSD: Consult your monitor’s manual to enable FreeSync within its on-screen display settings.
